


Disclaimer: As an Amazon Influencer, I earn from qualifying purchases. This means that at no additional cost to you.
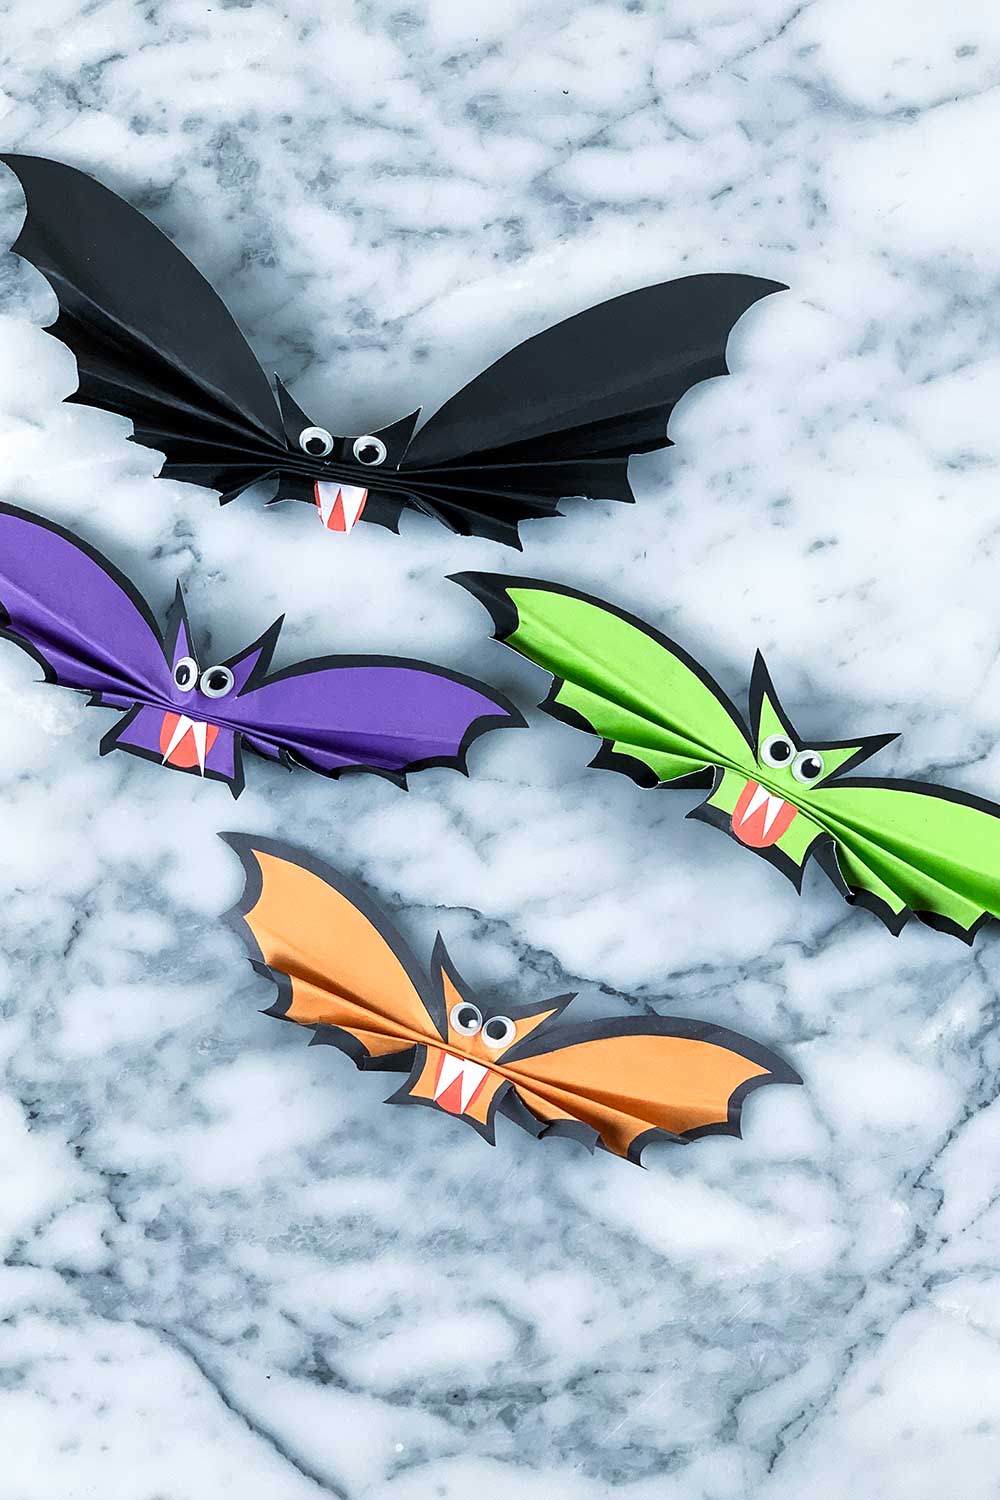
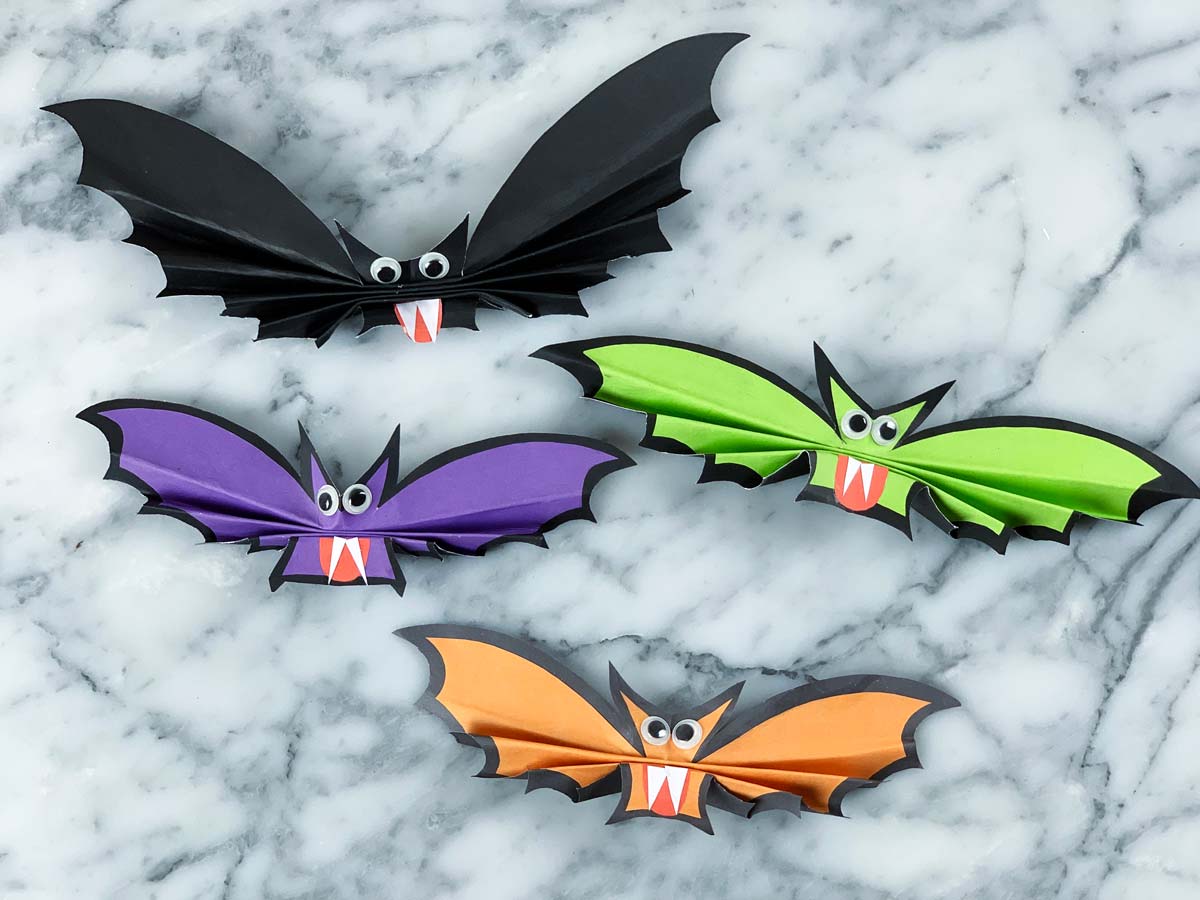
In this article, we are excited to show you how to make an Easy DIY Paper Bat Craft. Whether you’re prepping for Halloween or just looking for a fun and creative project, this craft is simple and perfect for kids. We’ll walk you through the entire process step by step with images and a full video tutorial, making it super easy for anyone to follow along.
Supplies You Need:
Before we begin, let’s gather the materials you’ll need for this fun bat craft:

- Black Cardstock Paper – for the bat’s body
- Construction Paper – a contrasting color for the layered effect (we use green)
- Scissors – to cut out your bat shapes
- Glue – to stick the pieces together
- Pencil – for tracing your bat design
- Stapler – to give the bat a 3D effect
- Eyes – googly eyes or any other kind of decorative eyes
Easy DIY Paper Bat Craft
Let’s dive into the fun part! Follow these simple steps to create your bat:
Step 1: Fold the Black Cardstock

Take a piece of black cardstock paper. The size depends on how large you want your bat to be. Fold the paper in half to prepare for drawing and cutting the bat shape.
Step 2: Draw the Bat Shape
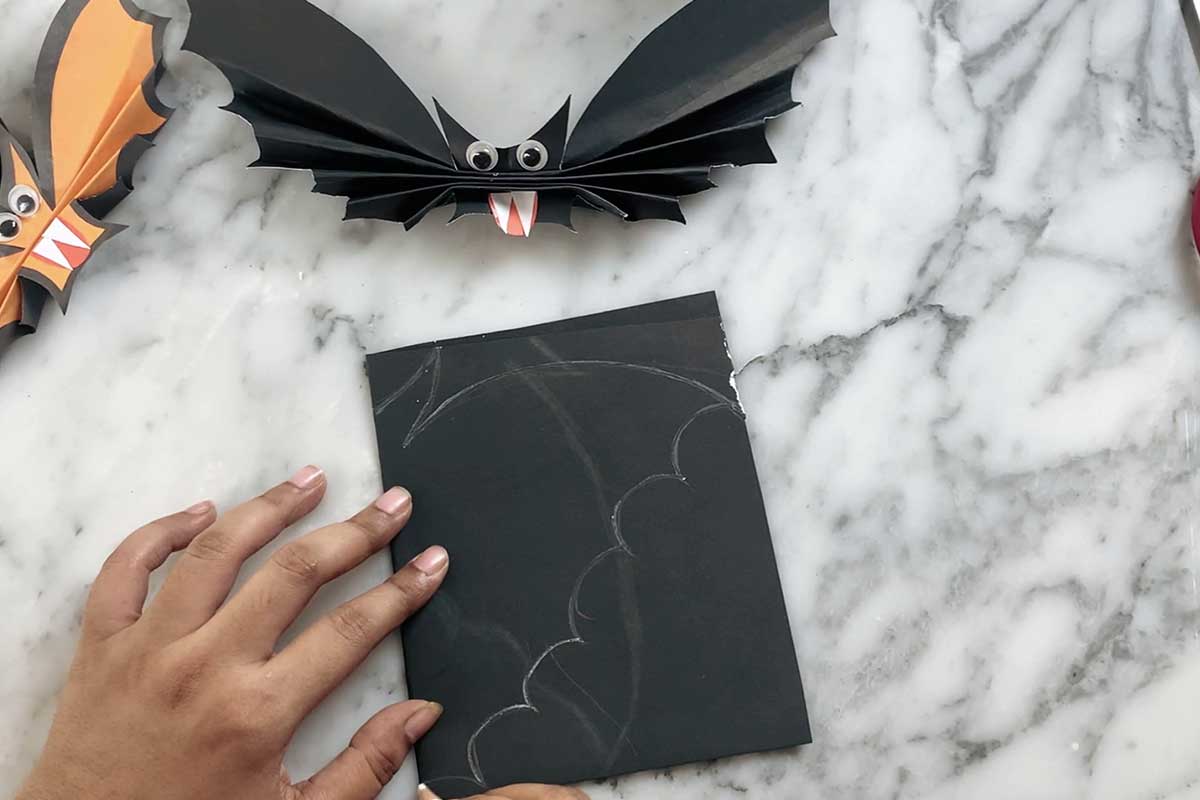
Now, on one side of the folded paper, use a pencil to draw half of a bat. If you’re unsure of the shape, feel free to use our downloadable template, which you can trace onto your paper for perfect wings and body shape.
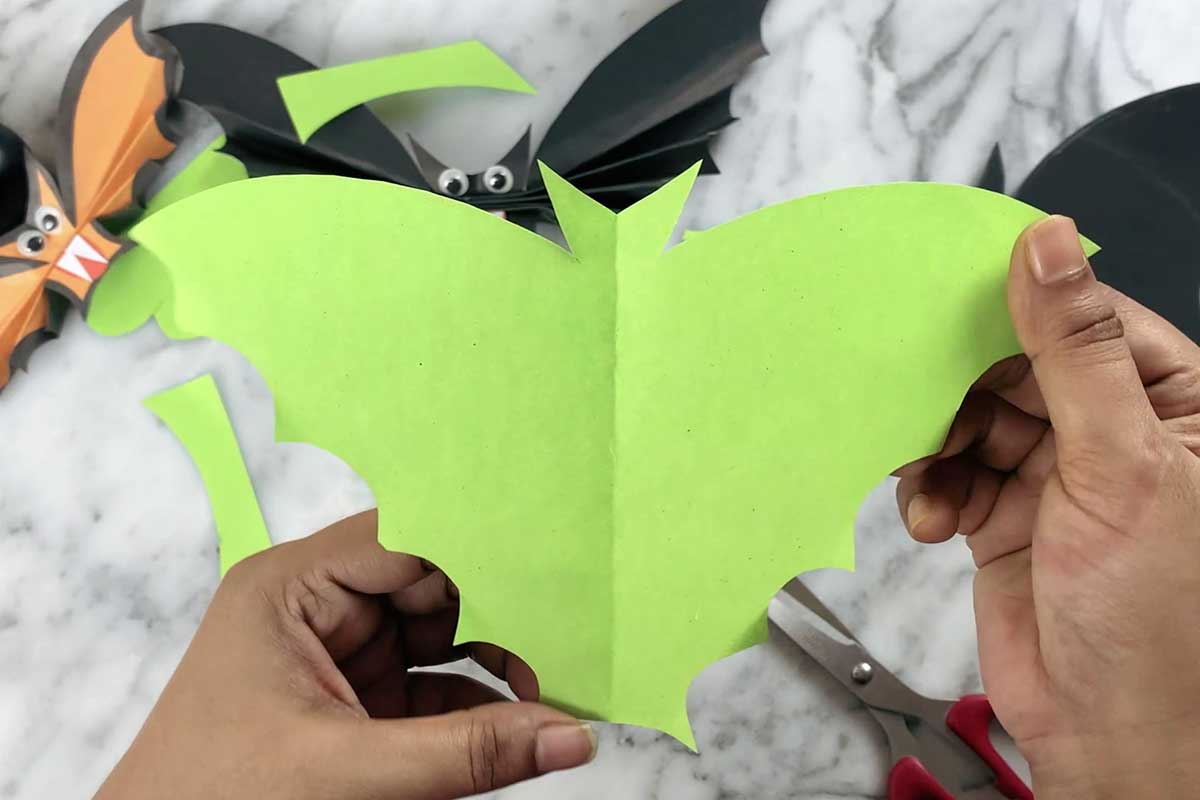
Step 3: Cut Out the Bat
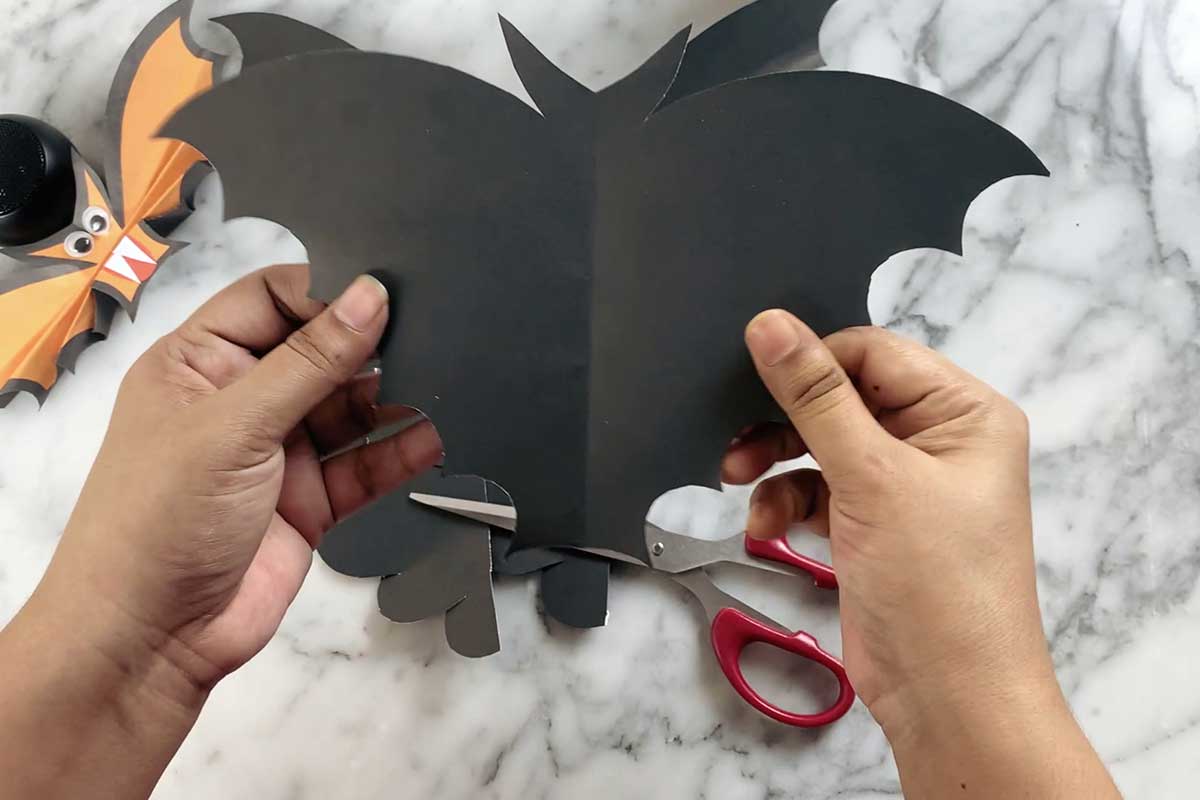
With your scissors, carefully cut along the lines of your bat drawing while keeping the paper folded. Once you’re done cutting, open up the fold, and you’ll have a symmetrical bat!
Step 4: Grab Your Contrasting Construction Paper
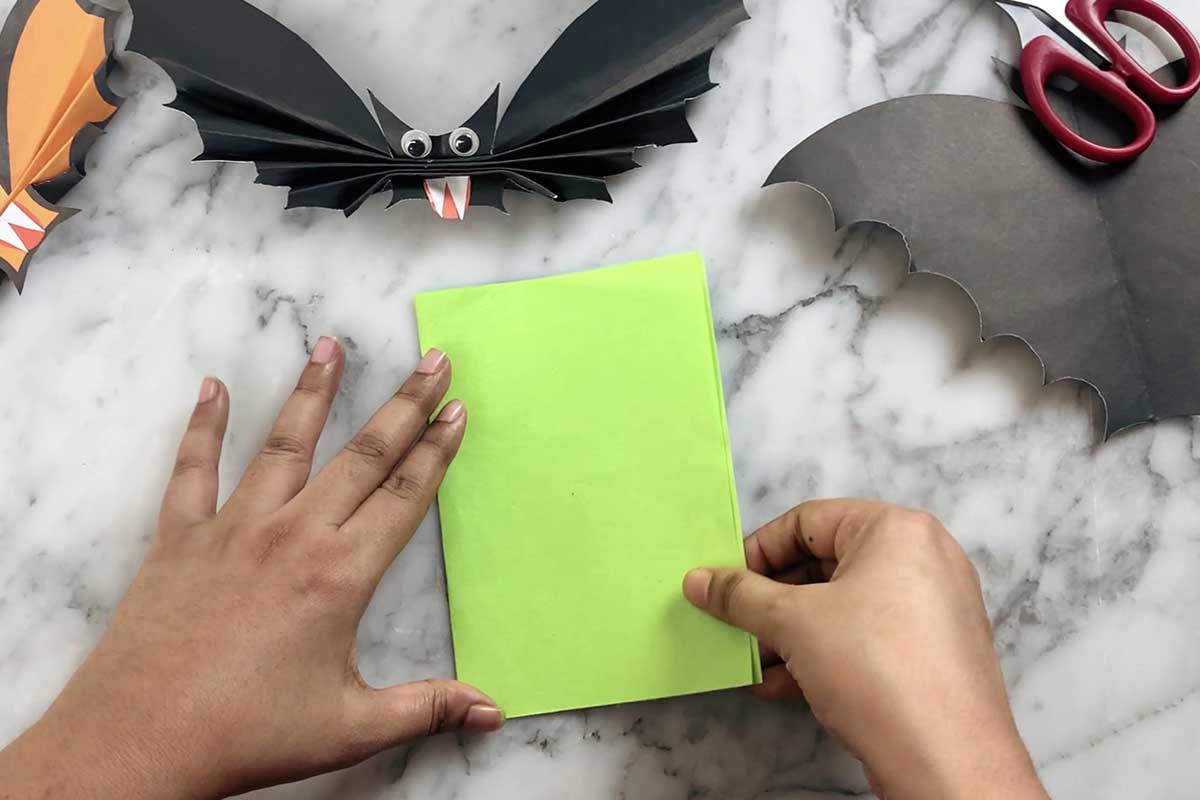
Take a different colored construction paper (we used green here) to add a fun layered effect to your bat. This paper should be lighter than cardstock, around 80gsm.
Step 5: Draw a Slightly Smaller Bat
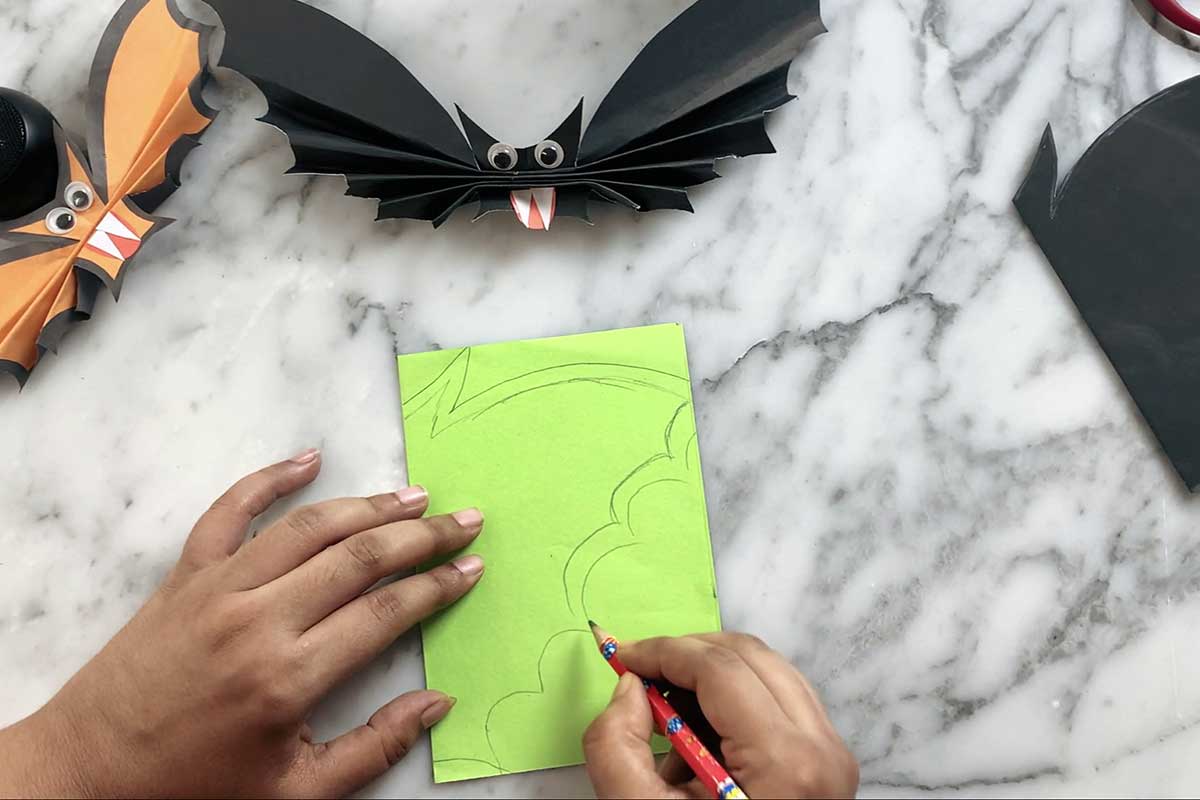
Fold the construction paper in half, just like you did with the black cardstock. Draw another bat, but this time make it slightly smaller than the first one.
Step 6: Cut Out the Second Bat
Cut the smaller bat shape from your construction paper. This will serve as the top layer, giving your bat a cool two-tone look.
Step 7: Glue The Bats Together
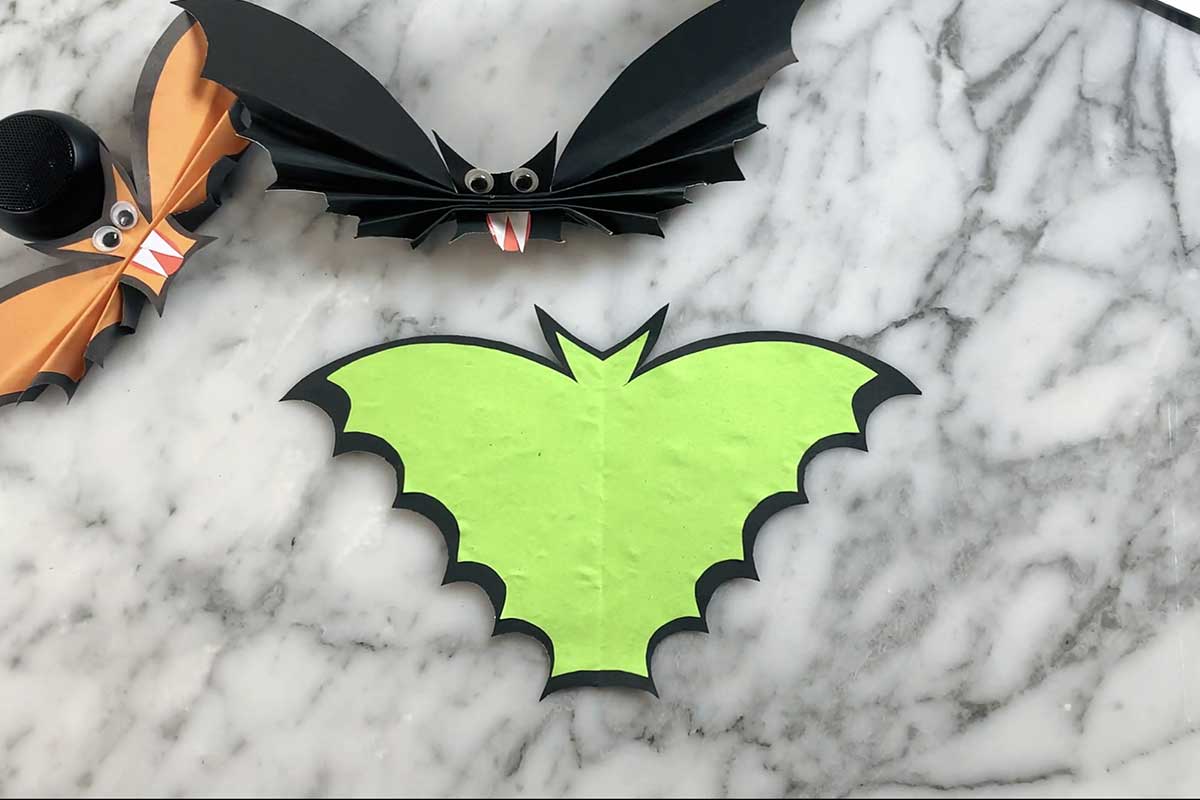
Now, apply glue to the back of the smaller, colored bat. Carefully place it on top of the larger black bat, aligning the edges neatly. Press gently to make sure it sticks properly.
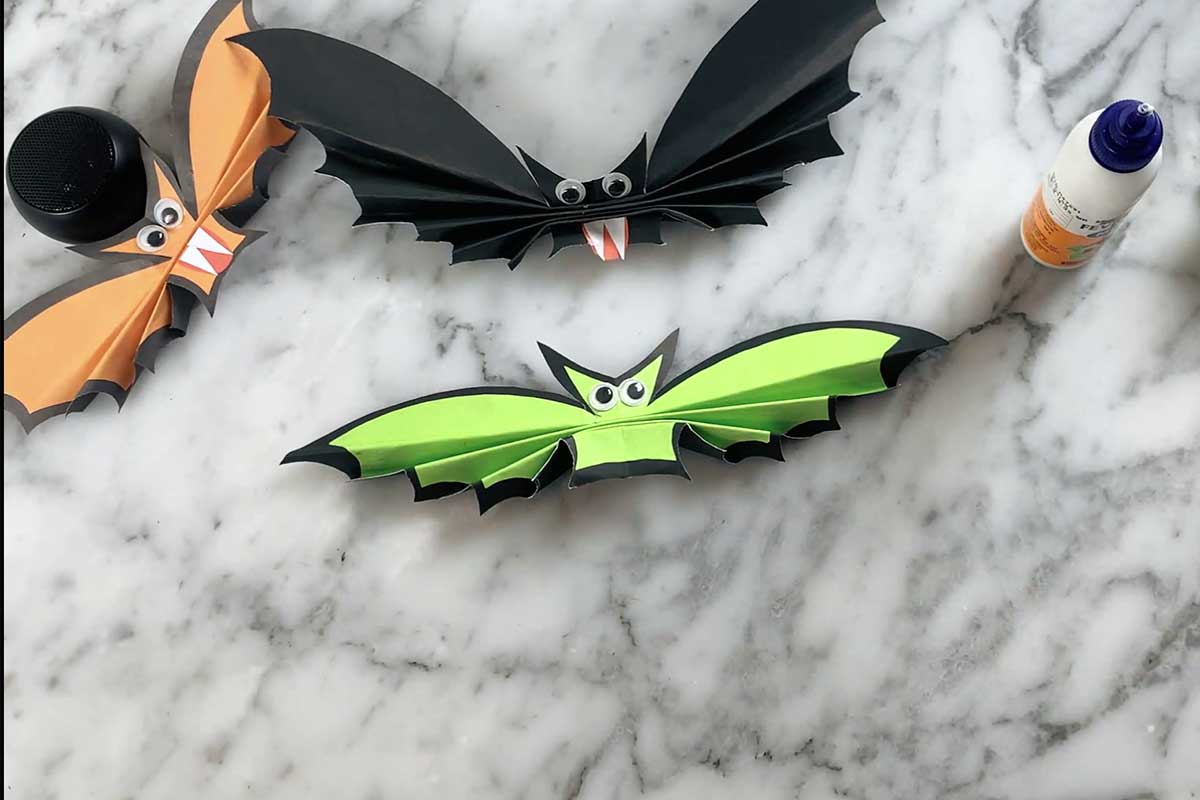
Step 8: Staple to Create a 3D Effect
To make your bat look more realistic and give it a 3D effect, fold the bat slightly at the center and staple it. You can watch the GIF for a clear visual on how to do this, or check out the full video below for a detailed demonstration.
Step 9: Add the Eyes
It’s time to give your bat some personality! Glue on the eyes. We used ready-made googly eyes for this, but you can make your own with paper if you prefer.
Step 10: Add the Bat’s Teeth
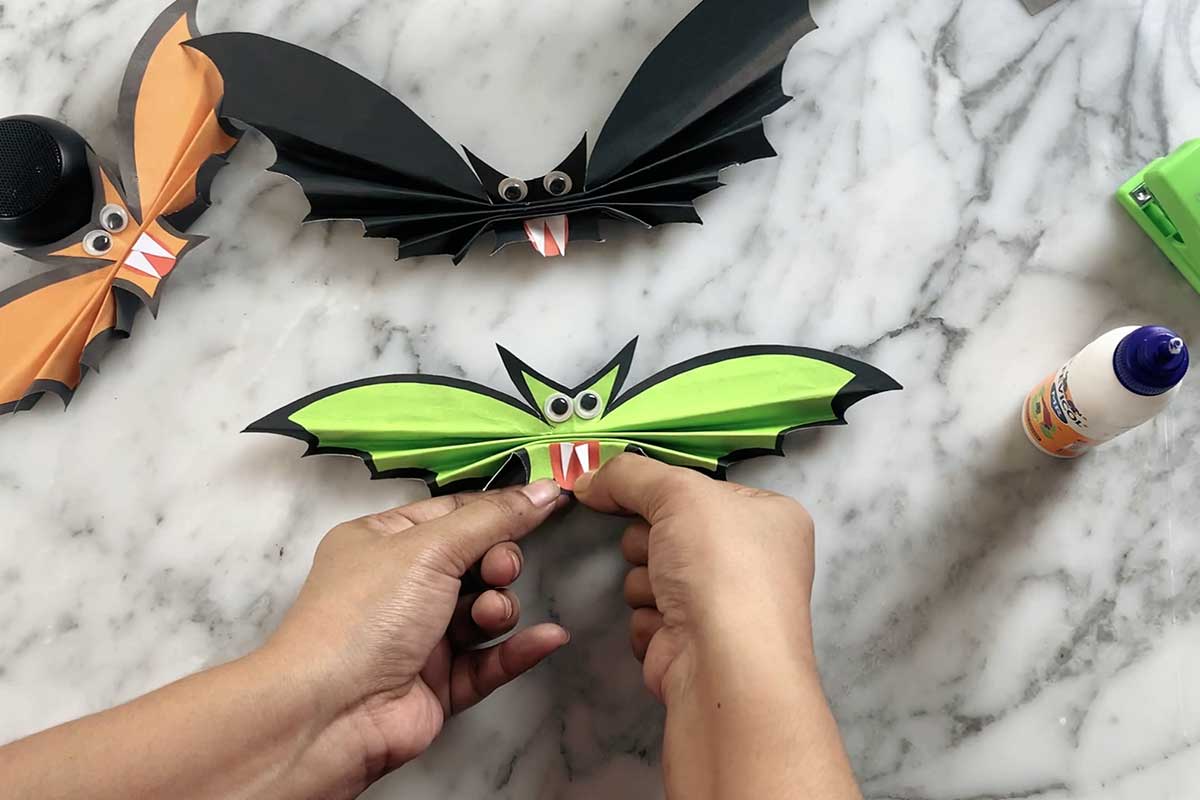
For a fun twist, cut a small round piece of orange construction paper for the bat’s mouth and cut two small white teeth. Glue these onto your bat, just below the eyes, for an adorable yet spooky look.
Video Tutorial
If you’d like a visual guide, check out our full Easy DIY Paper Bat Craft video tutorial! In the video, we cover each step in detail, making it easy for you to follow along and create your very own bat. Here’s the link to the video:
That’s it! Your Easy DIY Paper Bat Craft is complete. This fun and simple project is perfect for kids and adults alike, whether you’re decorating for Halloween or just enjoying some creative time. We hope you loved making this craft with us.
You can also check