


Disclaimer: As an Amazon Influencer, I earn from qualifying purchases. This means that at no additional cost to you.
Welcome to crayon crafts for kids, where creativity meets fun. We’ve put together super easy and exciting crayon crafts that kids will love making with just paper and crayons. These crafts are perfect for little hands, whether colorful rubbings or fun shapes. And don’t worry each craft comes with simple, step by step instructions and videos to help you along the way. No stress, just pure crafting fun. These activities are great for kids of all ages and are perfect for parents, teachers, or anyone looking for a fun afternoon. So let’s get started with this crayon craft.
Supplies You Need:
- Cardstock Color Paper (160gsm)
- Color Paper (80gsm)
- Glue
- Scissors
- Compass
- Marker
- Ruler
Steps To Create Your Crayon Crafts For Kids
1. Cut the Paper to the Proper Size Start by cutting your cardstock paper to the right size for the crayon body. For the main crayon roller, I used a measurement of 6.5 cm. Cut another piece of Paper to 4.5 cm for the crayon’s top part. This ensures that the top section will fit perfectly over the body.
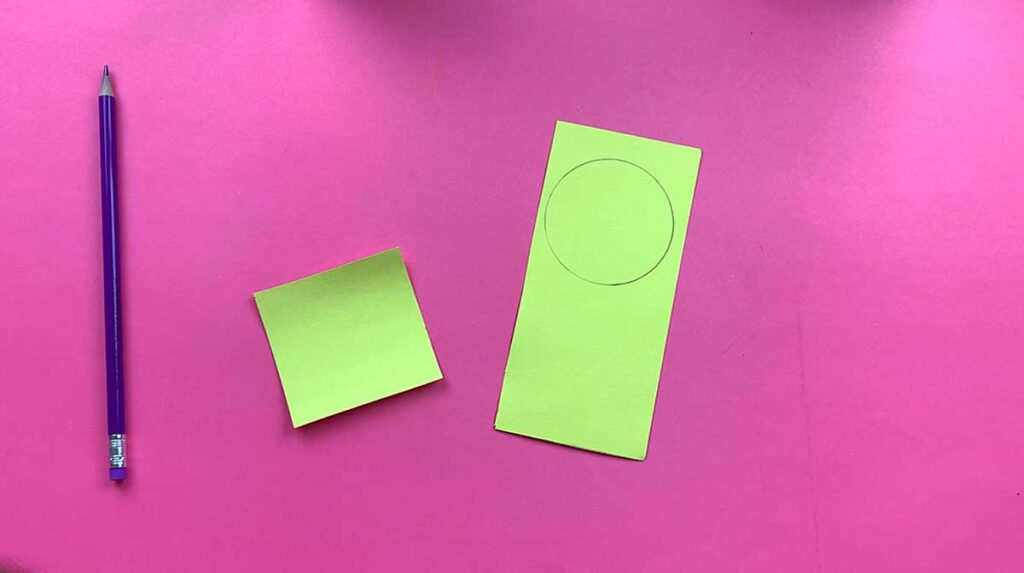
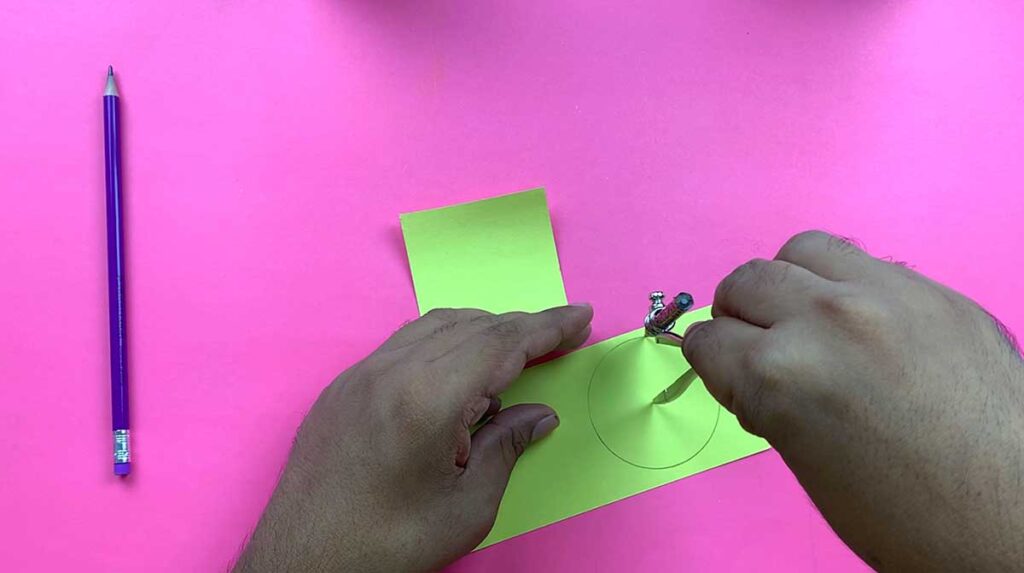
2. Create a Circle with a Compass and Cut It Out. Use a compass to draw a circle on the cardstock paper. This will be used later for the crayon’s top hat. Carefully cut out the circle using scissors, making sure the edges are smooth and even.
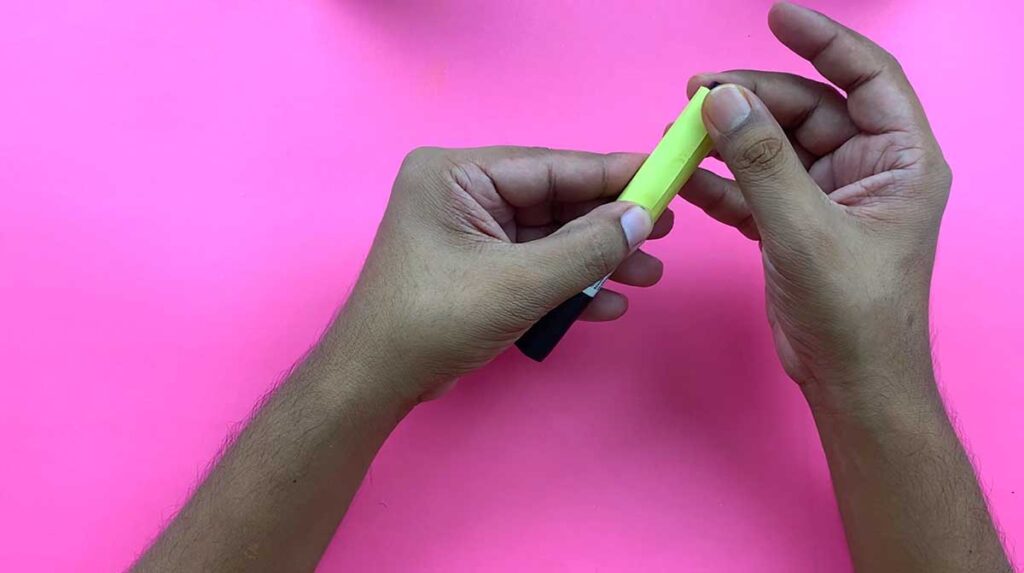
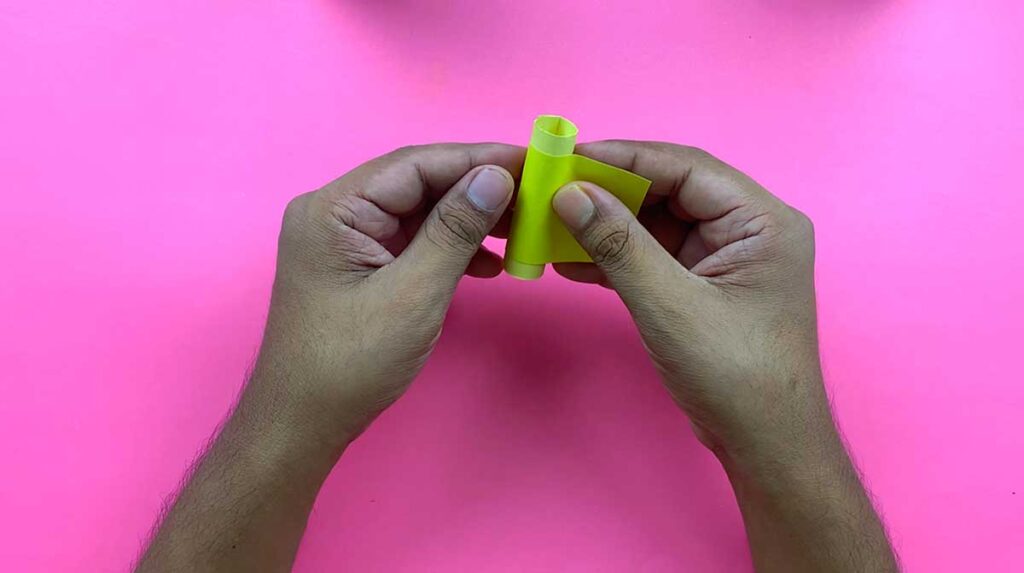
3. Form the Crayon’s Main Body To create the crayon’s main body, I used a marker as a mold. You can also use a toilet paper roll if you prefer. Wrap the cardstock paper around the marker and secure it with glue. This forms the sturdy base of your crayon craft.
4. Attach the Crayon’s Top Section Next, take the 4.5 cm piece of color paper that is either slightly lighter or darker than the primary color. Wrap this around the top of the crayon body, securing it with glue. This creates the iconic two-tone look of a crayon.
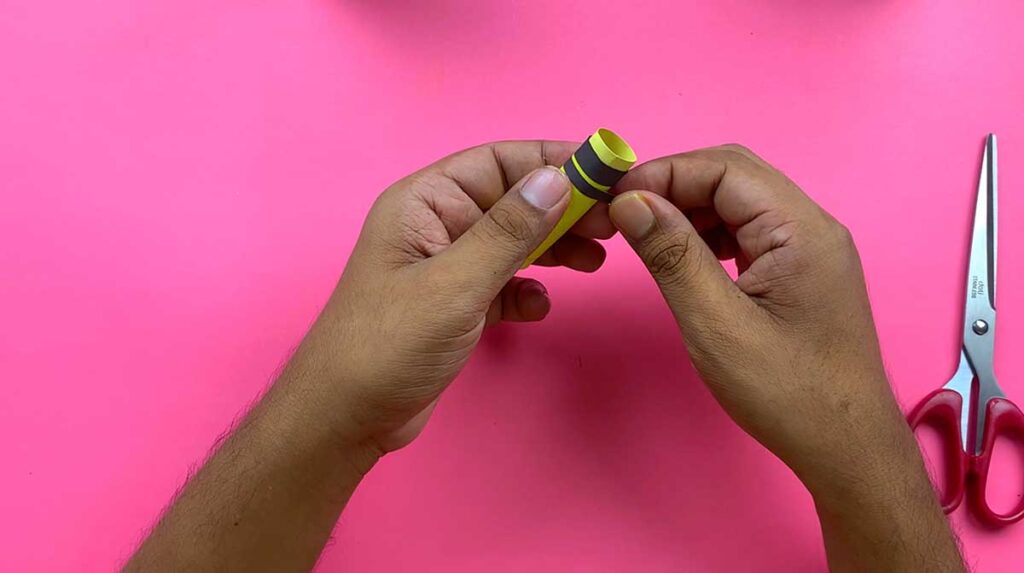
5. Add the Black Paper Stripes. Cut two black paper slices, one slightly larger and one slimmer. Attach these near the top and bottom of the crayon body, respectively. This detail adds an authentic touch to your crayon craft.
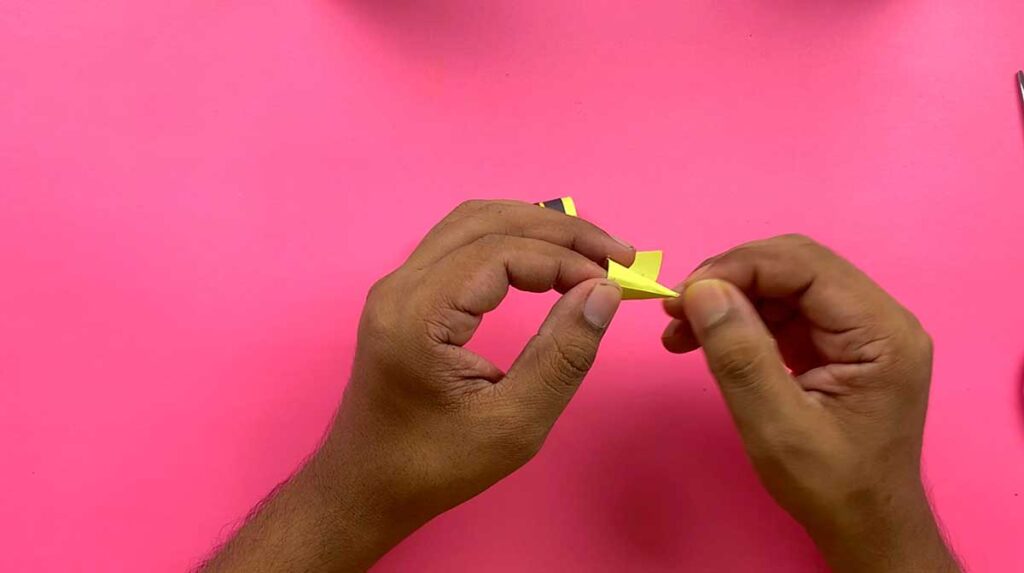
6. Create the Crayon’s Top Hat. For the top hat, take the circle you cut out earlier. Make a small cut from the edge to the center of the circle. Then, shape it into a cone and secure it with glue. This cone will serve as the pointed top of the crayon.
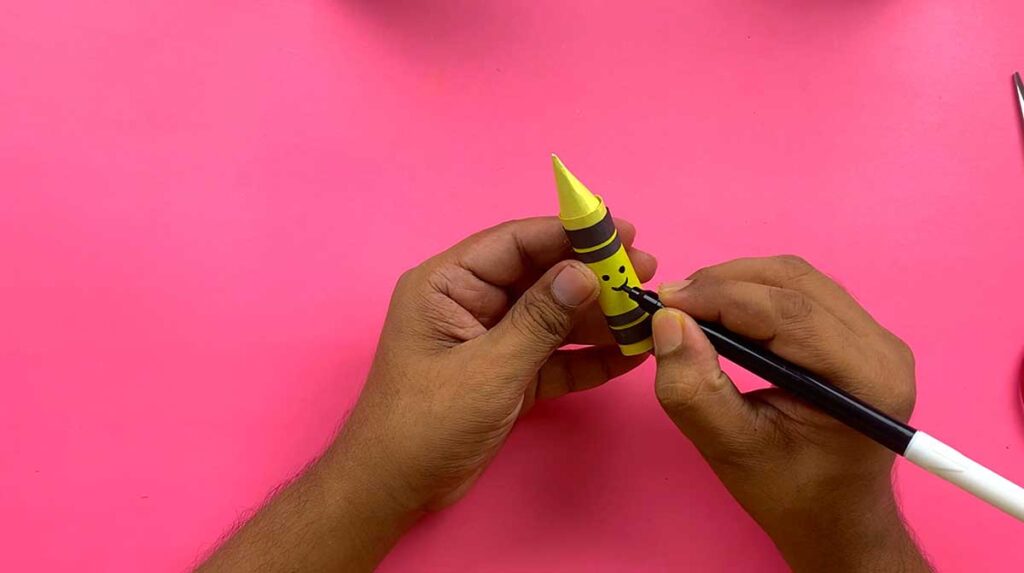
7. Draw a Face on the Crayon Finally, bring your crayon craft to life by drawing a cute face on it using a marker or sign pen. You can customize the expression to make it as happy or silly as you like.
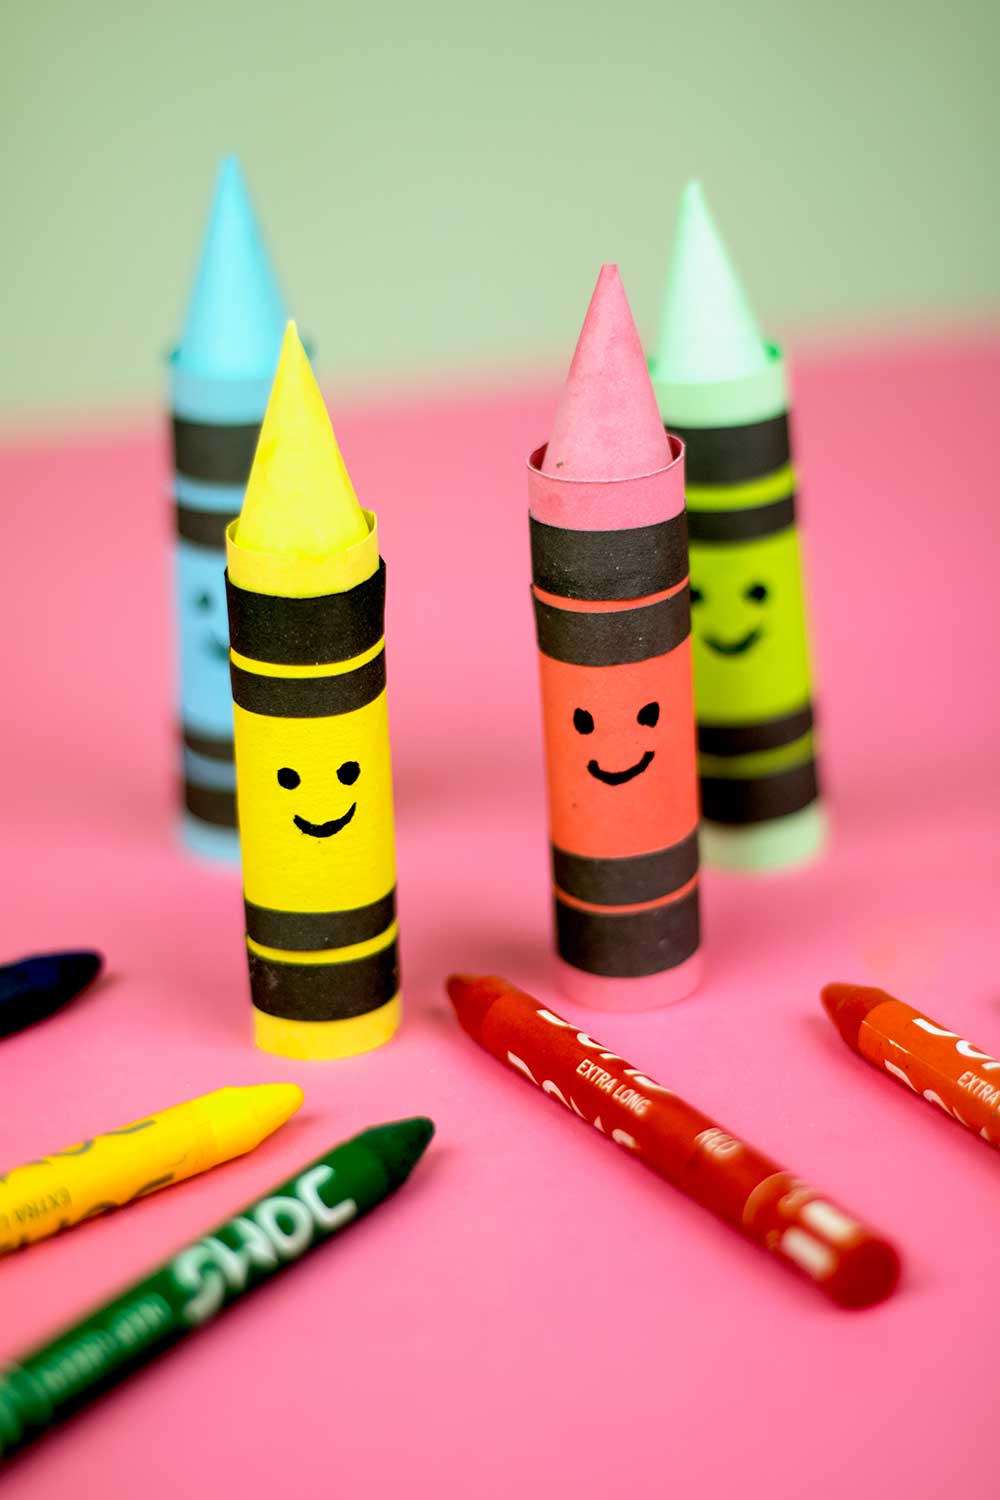
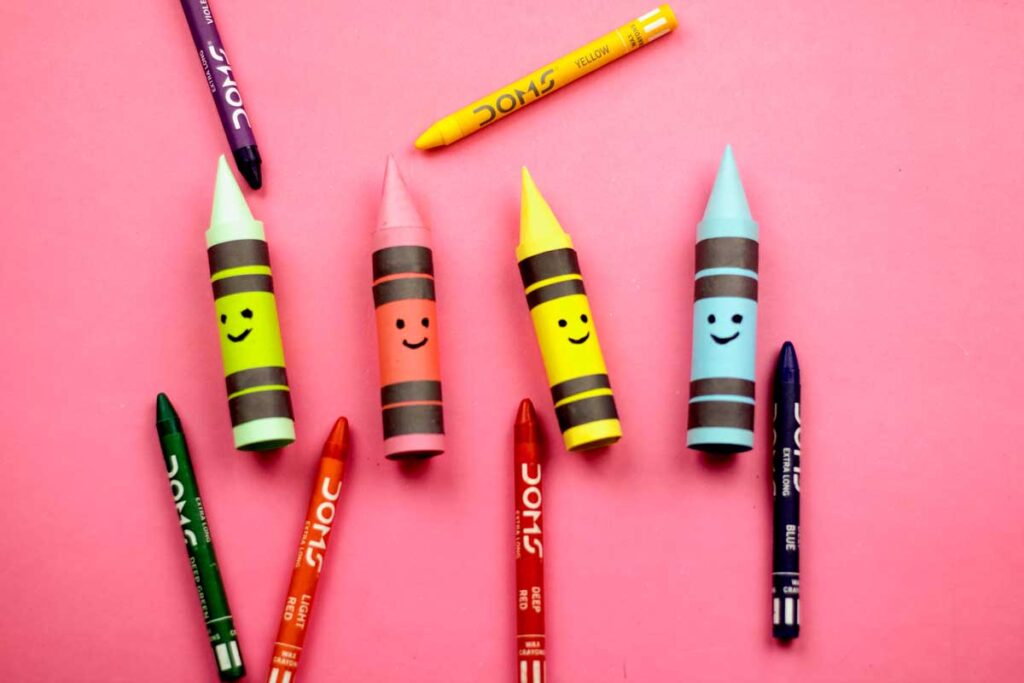
Final Preview Of Crayon Crafts
For more detailed instructions, watch our video tutorial here:
In this video, we walk you through each process step, showing you exactly how to create these adorable crayon crafts for kids. It’s easy to follow, and by the end, you’ll have a fun and colorful crayon ready to display.
Crayon crafts for kids are a delightful way to enjoy meaningful time together while crafting something special. Whether you’re making them for a school project, a party, or just for fun, these DIY crayon crafts will surely brighten your day. Don’t forget to share your creations with us and subscribe to our newsletter for more creative ideas.