Disclaimer: As an Amazon Influencer, I earn from qualifying purchases. This means that at no additional cost to you.
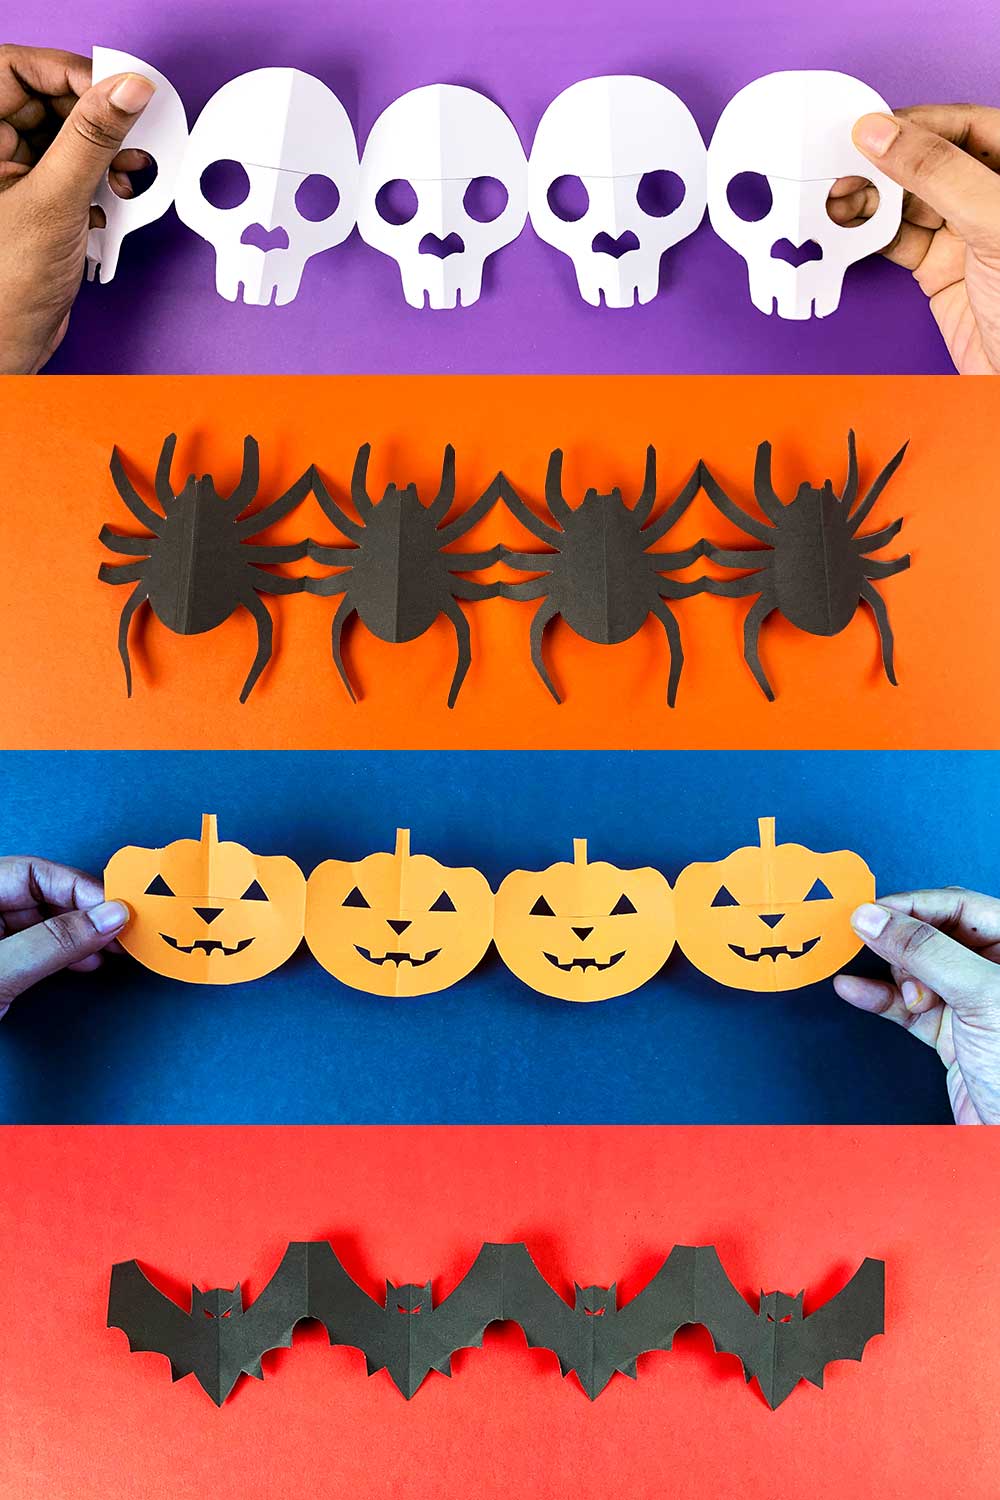
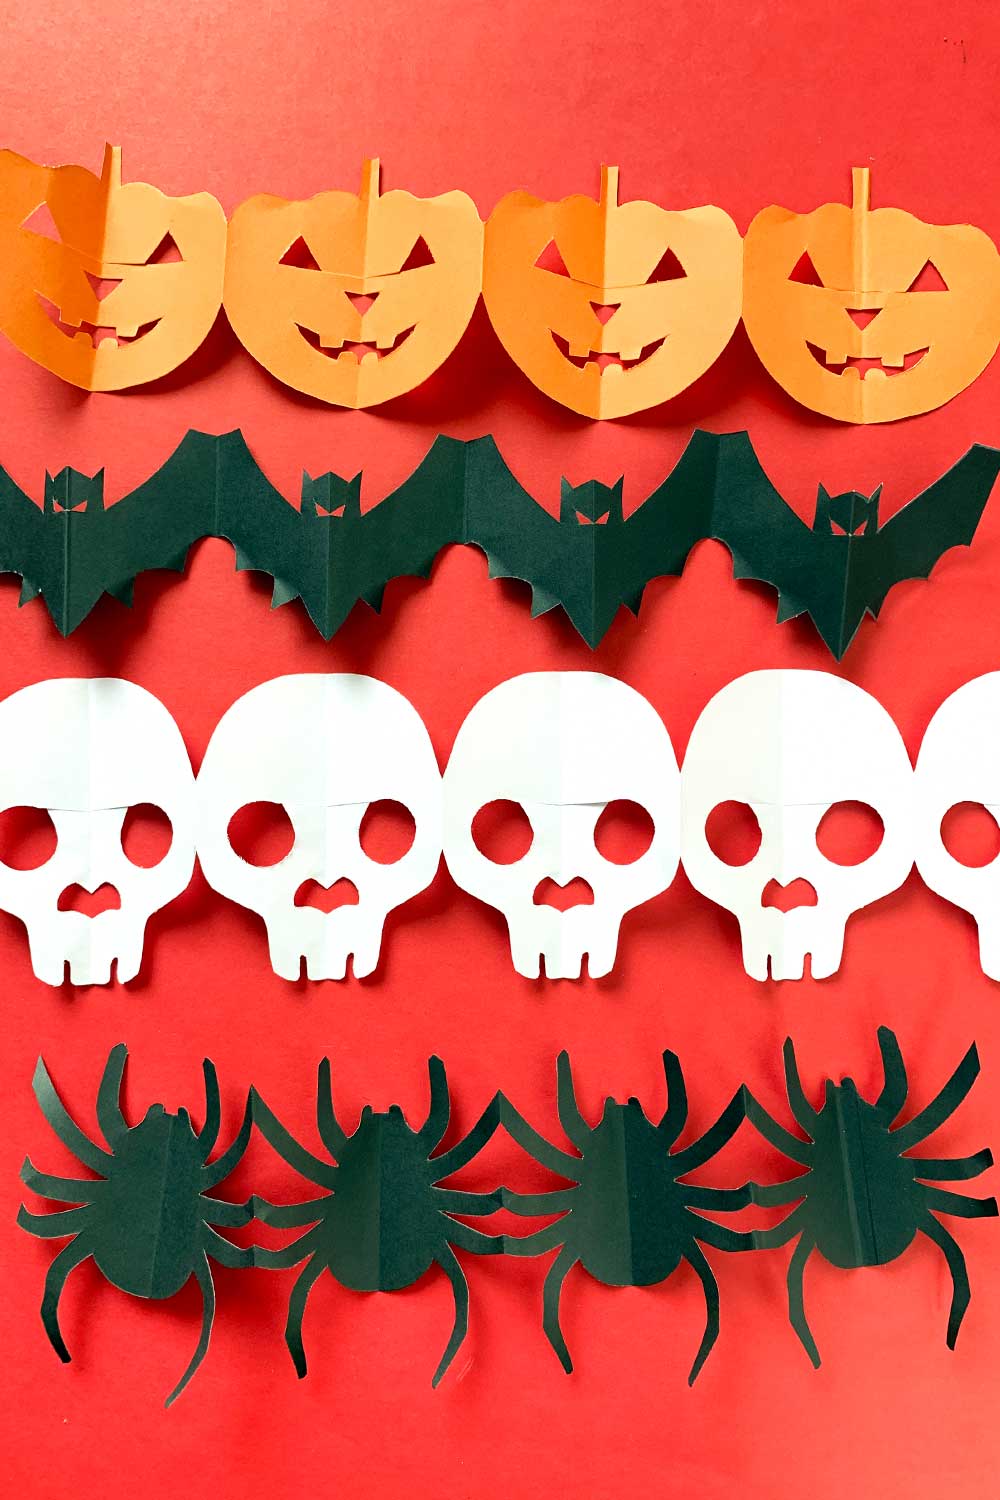
With Halloween just around the corner, there is no better way to do so than getting them an array of spooky garlands? So in this article, we give you four Halloween garland cutouts printable: Pumpkin, Bat, Spider and a Skull that enable us to make it effortlessly. These garlands are great to add some Halloween spirit to your home, classroom or Halloween party. And they are just as fun for kids and adults alike to make.
Halloween is all about a spooky vibe and garlands are great decor for that eerie background. Read our step by step on how to make your own garland as we prepare for the upcoming season & watch the video of this tutorial so you can see first hand that it really is simple.
Supplies You’ll Need:
- Paper garland template (free printable download at the end of article)
- Construction paper
- Scissors
- Pencil
- Tape (optional, for connecting a few of the garlands)
Halloween garland cut outs printable
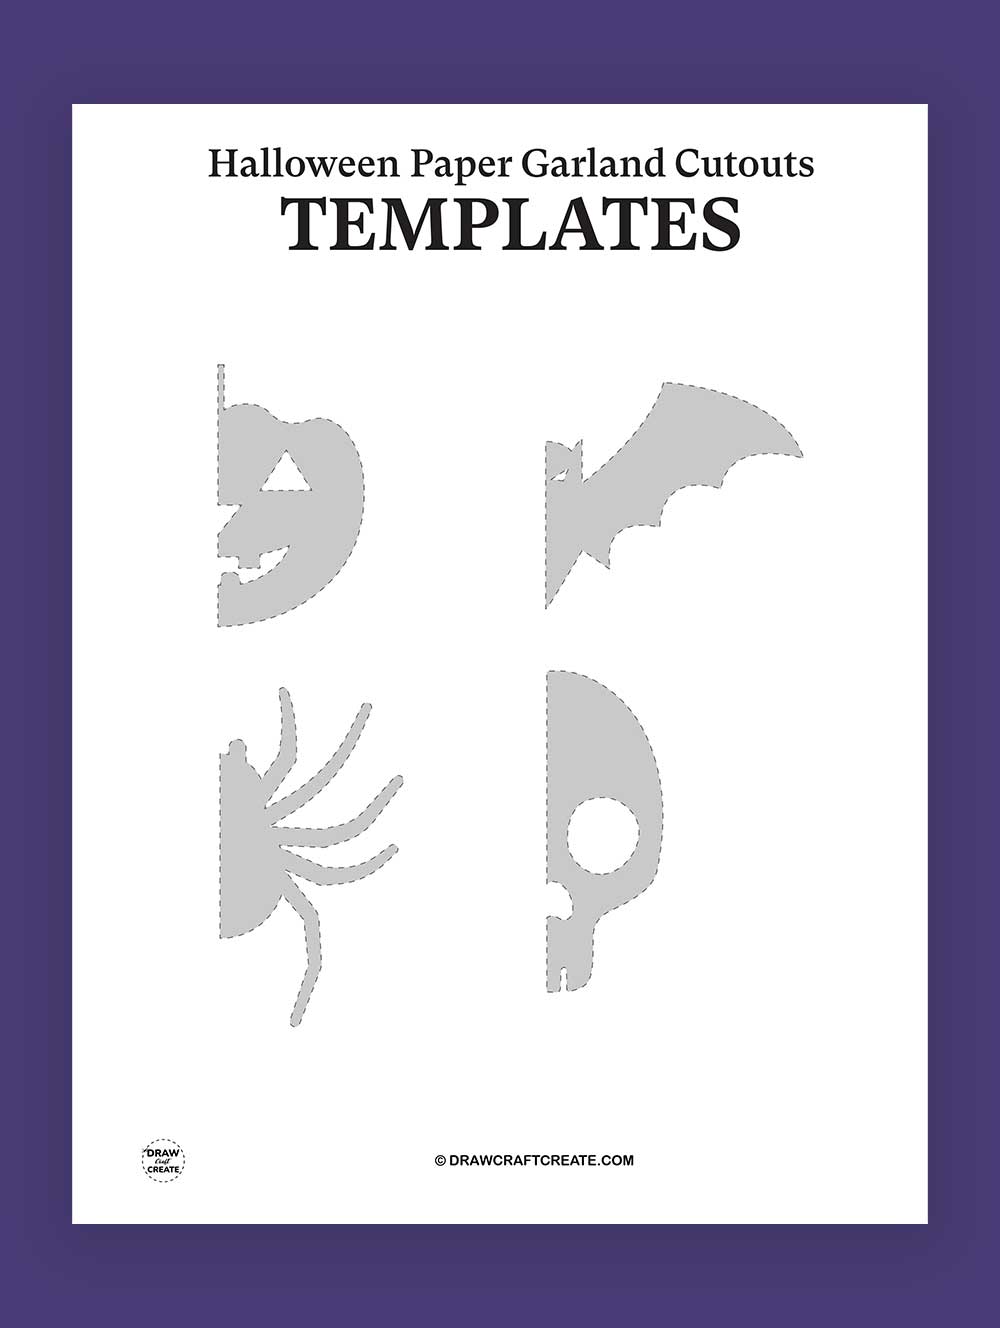
There is nothing better than this classic Halloween garland set that comes with four different spooky designs: Pumpkin, Bat, Spider and Skull. The four designs are in one easy print, cut and create perfect for the 8.5×11″ printable page size! You see, Halloween symbols that are iconic like these can be designed to every space with an element of fun — whether you are getting your house ready for the ragtag army of trick-or-treaters or preparing a spooktacular haunted party.
Pumpkin: The classic shape (jack-o-lantern silhouette) to incorporate traditional Halloween feels.
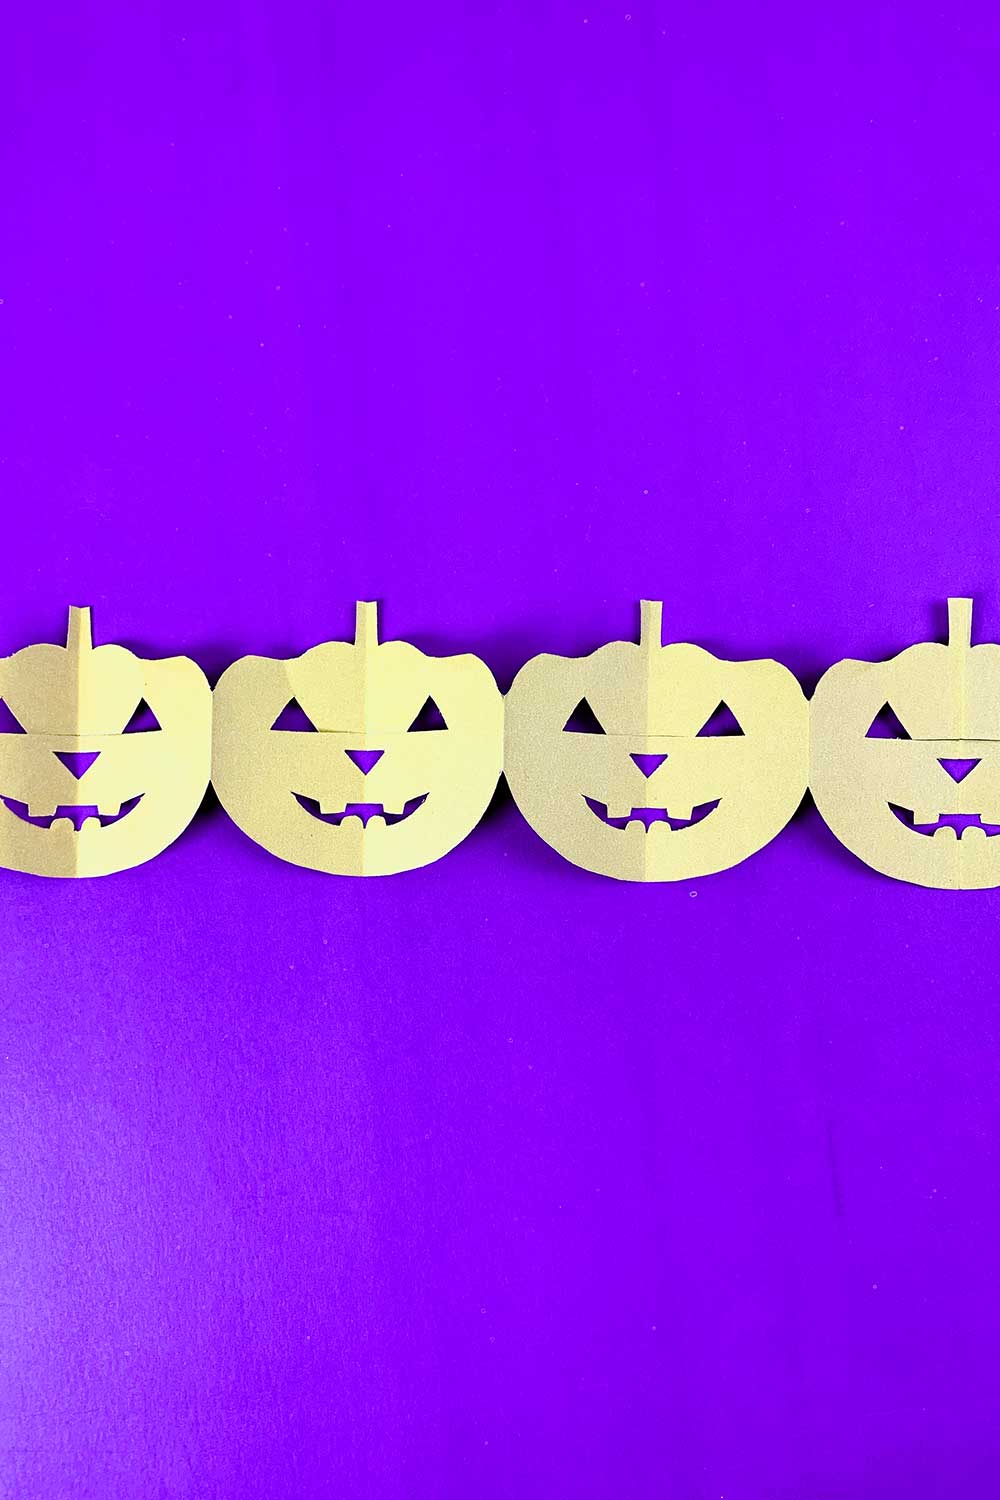
Bat: Bats are another Halloween classic, and they can be seen flying around your decor to touch up the creepy.
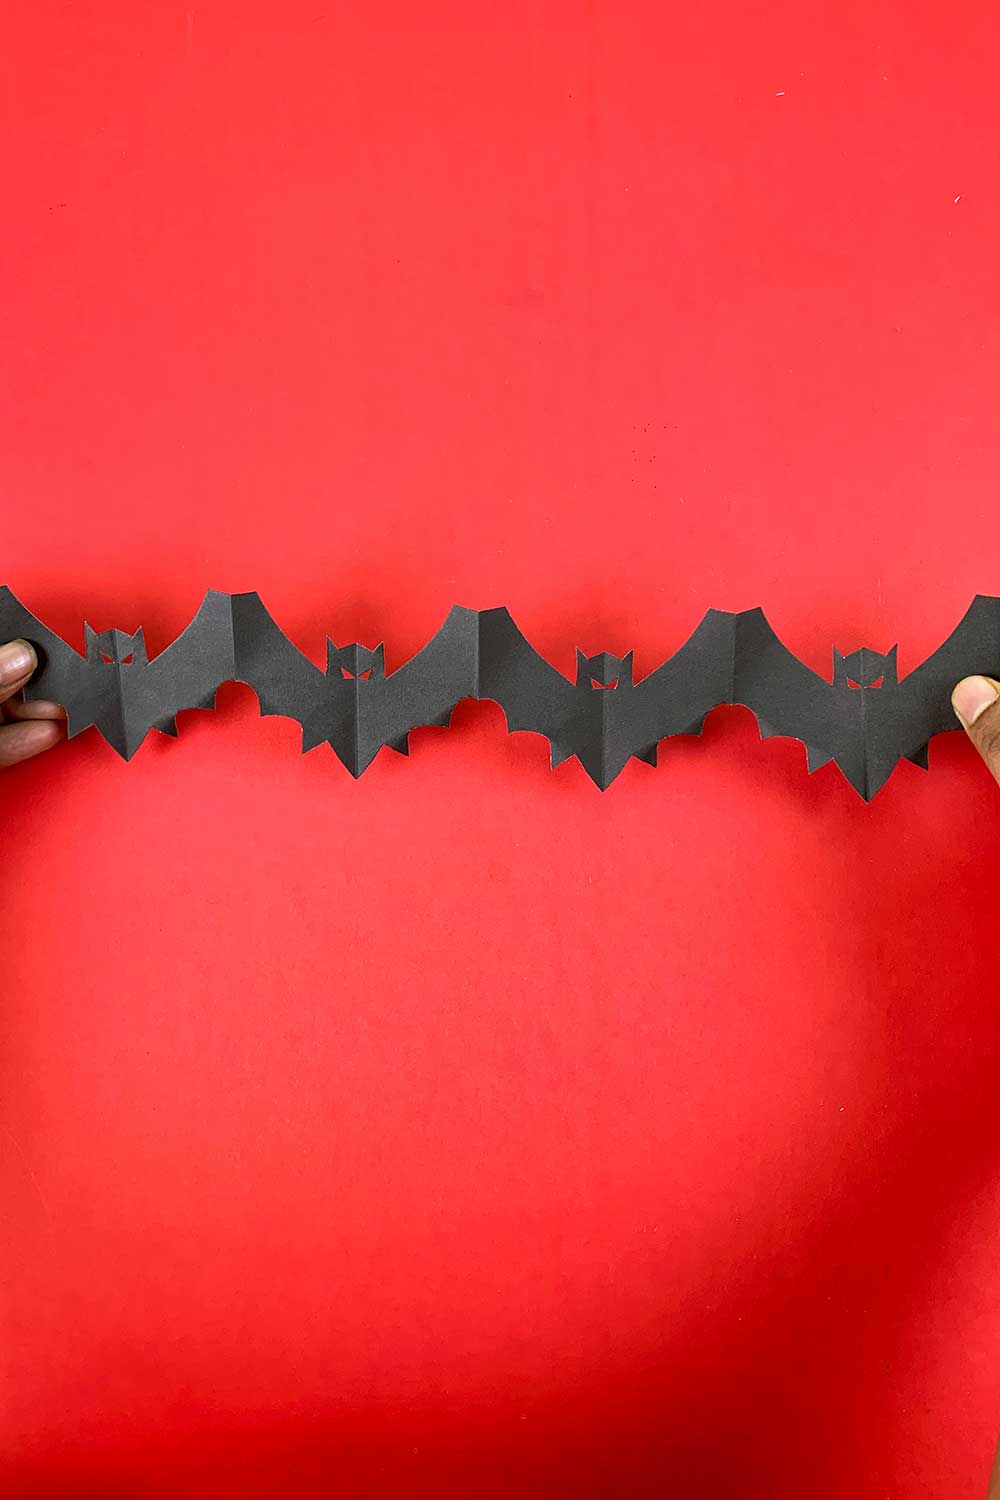
Spider: Halloween would just not be the same without something creepy and crawly. The spider creates that spooky element for Halloween.
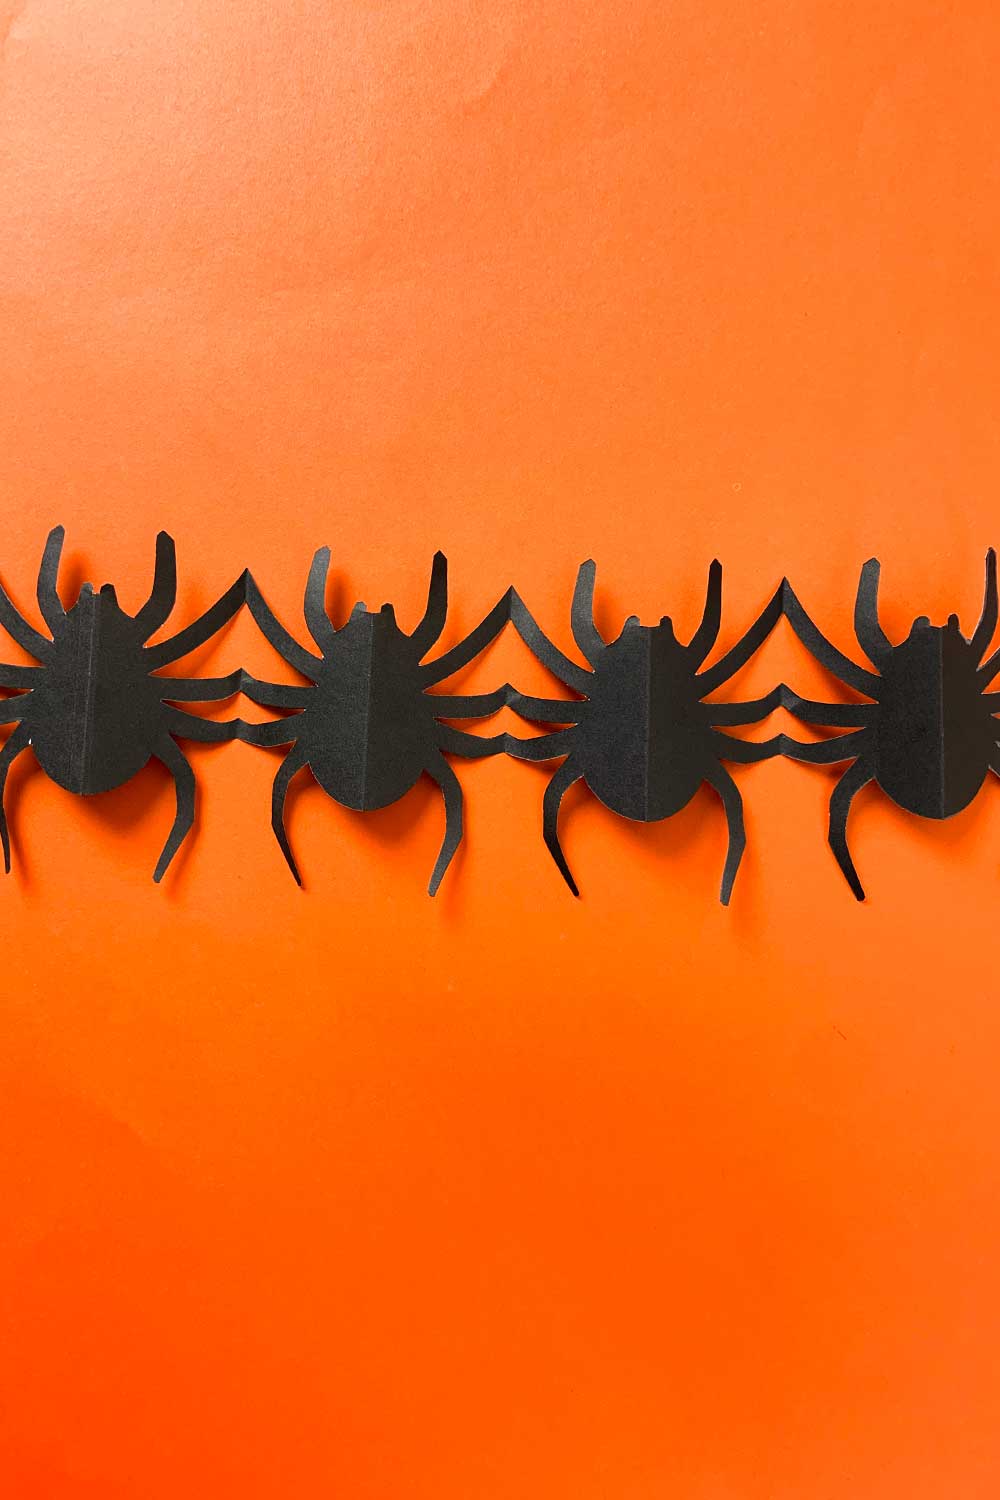
Skull: A classic Halloween icon that reflects the ghostiness of October.
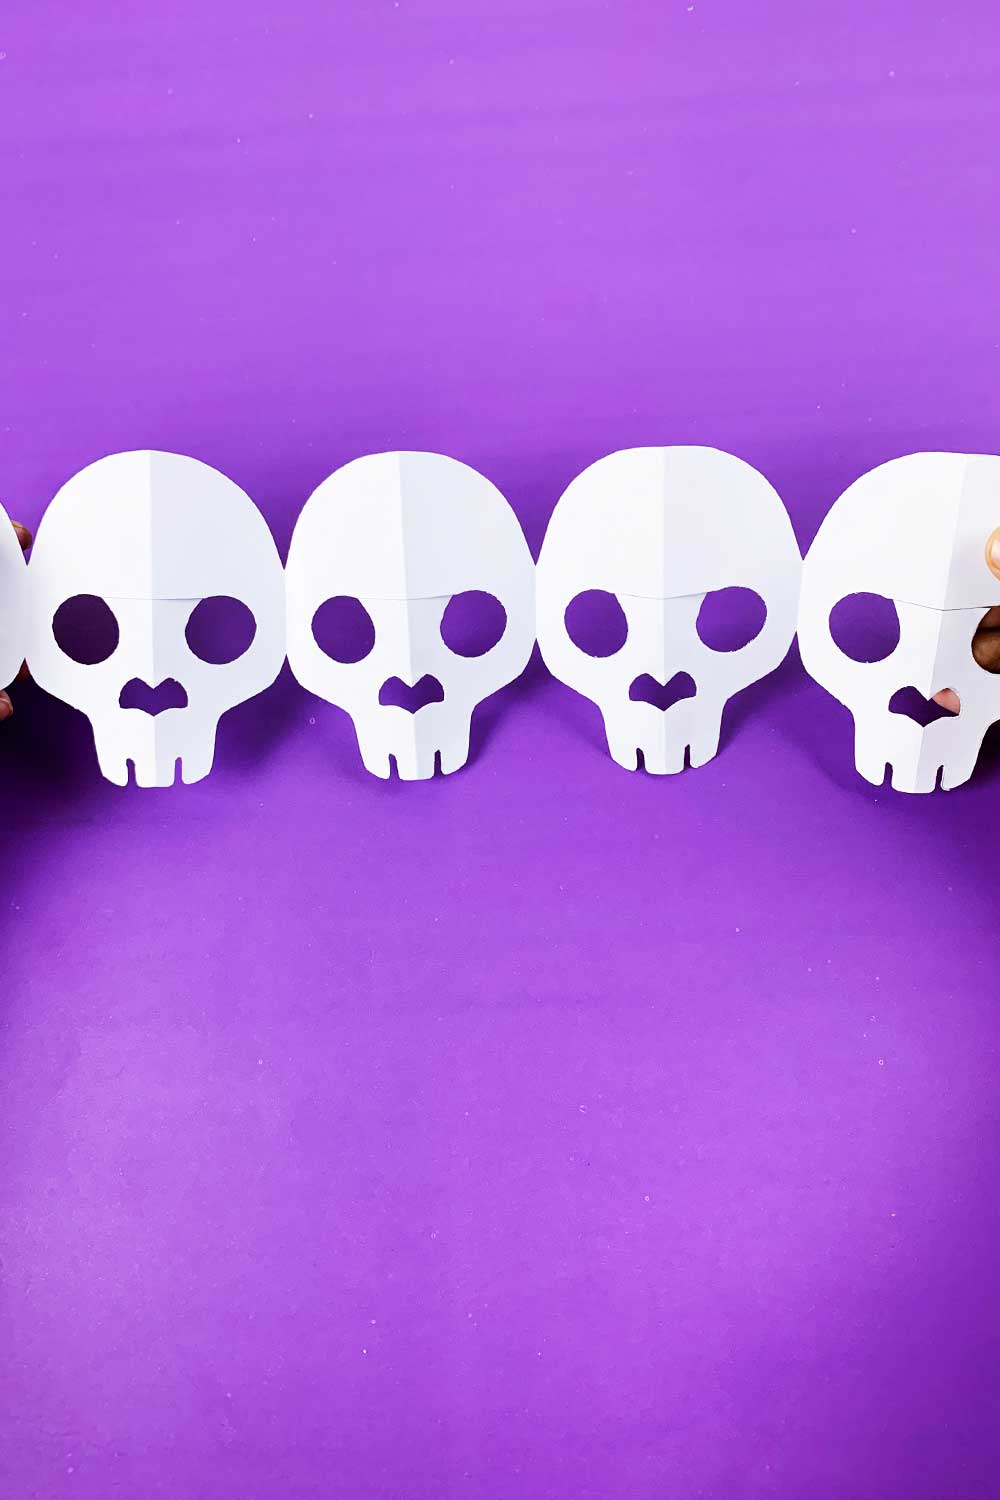
Whatever combination you decide on, your garland is sure to make a great decoration for all of your haunted celebrations using these four iconic designs.
How to Make Halloween Paper Garlands
Now that you have your printables, it is time to be creative! Here is a simple way to make your very own Halloween garland.
1. Print the Halloween garland template and cut it using scissors (download link at the top)
Download the template and print it off. Print and Cut Once you have printed them out, use Scissors to carefully cut each of the designs (Pumpkin, Bat, Spider & Skull). Slightly slower, cleaner edges around each individual shape.
2. To get this size, you take an A4 sheet and fold it in half there.
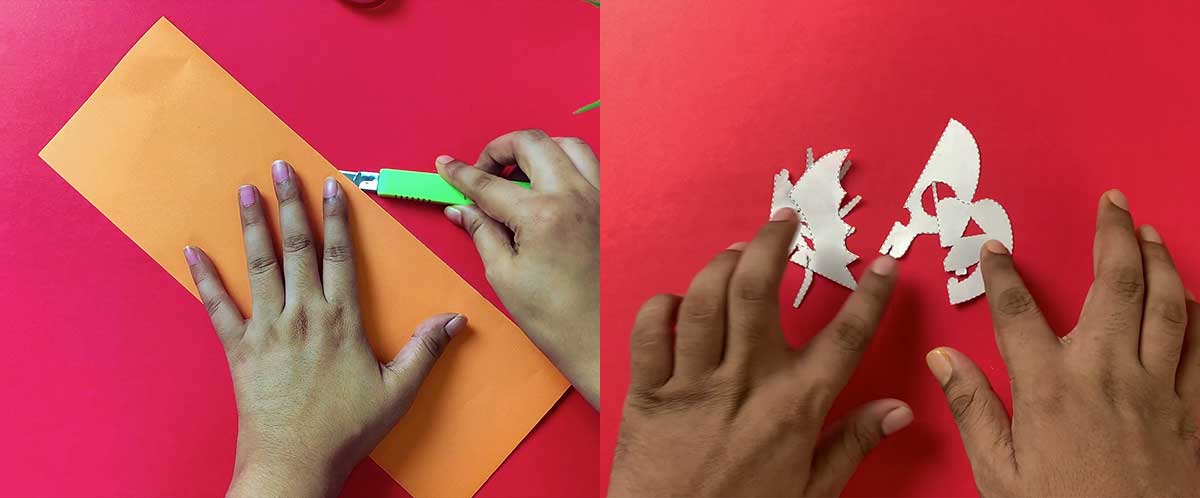
Take an A4 sized sheet of paper, one with more sturdiness – like construction or any other kind and fold it in half lengthwise. Enabling for equilibrium achieves much more symmetry along the way and make your garland a lot simpler to style.
3. Fold the paper
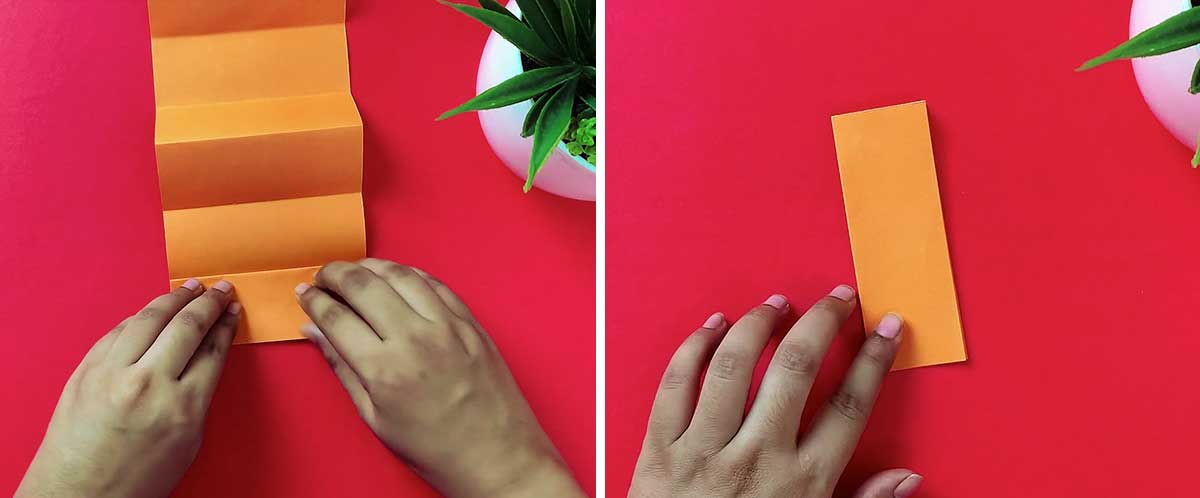
Fold the paper in half and then keep folding it over into a smaller rectangle until you fold it three times. This step is just to make sure that you have more than 1 piece of garland. Open the paper & re-fold accordion style to make a fan shape. All of these folds will be even, so that the different segments in which it is cut can connect. To see this in action, watch the video here for a visual review.
4. Trace the garland shape
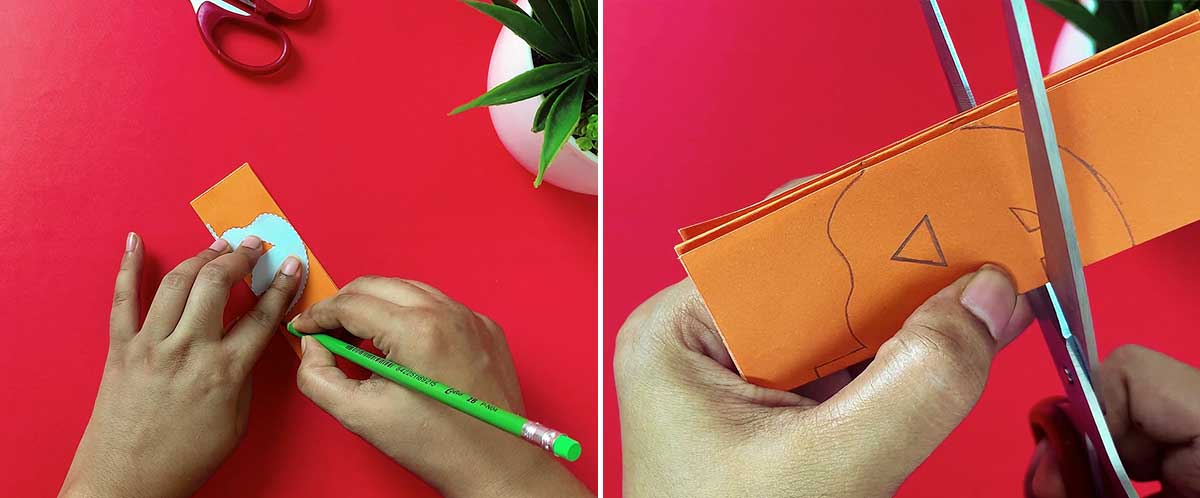
Next, place one of the cut-out garland shapes onto the folded paper. Ensure the folded edge is on the left and the open side on the right, like a book. Trace the shape onto the paper using a pencil. This ensures that when you cut it out, the shapes remain connected and form a continuous garland. Now, cut out the traced shapes along the fold, and your garland will come together as you open it.
Watch video:
Conclusion
And there you have it your very own Halloween garland! These Halloween decorations are made easy and will make your space feel like the best house on the block. These garlands are perfect for a spooky event or just to get us in the holiday spirit. There are different colored papers and even the pictures can be arranged according to your preference.
Print out your Halloween Garland Cutouts Printable and get started today.

